- by Admin
How to Set Up a Beach Tent Fast
- by Admin
That perfect stretch of sand can turn into a sweaty, windblown mess fast if your shade setup goes sideways. If you're wondering how to set up a beach tent without wrestling poles, chasing fabric, or rebuilding it every time a gust hits, the good news is this: a solid setup is mostly about location, anchor placement, and a few smart adjustments.
A beach tent should make the day easier, not add work. Whether you're setting up for a quick solo session, a family beach afternoon, or a full day with snacks, towels, and kids in tow, the goal is the same - get reliable shade up quickly and keep it there.
The biggest mistake people make is starting before they read the beach. Sand conditions, wind direction, and tide position matter more than most first-time users expect. A tent that goes up easily in calm conditions can become annoying if it's placed too close to the waterline or broadside to a strong wind.
Start by choosing a flat spot on dry sand, well above the high-tide area. That sounds obvious, but it saves a lot of frustration later. Wet, compact sand can be useful for anchoring in some cases, but if the tide creeps in, your setup and your gear are both at risk. Give yourself enough room around the shelter for chairs, bags, and foot traffic so you are not constantly stepping over anchors or lines.
Before anything goes into the sand, look at the wind. You want the tent positioned so it works with the breeze instead of fighting it. In most cases, the lower, more closed side should face into the wind, while the open lounging area should sit on the calmer side. That helps the tent stay stable and makes the shaded space more comfortable.
Unpack the full tent and spread the parts out so nothing gets buried or tangled. This small step speeds up the whole process. If your shelter includes a canopy, poles, anchor bags, stakes, or sand pockets, keep each piece visible and close at hand.
At this stage, it helps to place a cooler, tote bag, or folded towel on one corner of the fabric if the breeze is already moving. Lightweight beach gear is great for carrying, but it can shift fast before the tent is anchored.
If your beach tent uses sandbags or anchor pockets, fill those first. This is where setup gets easier or harder. Underfilled anchors are a common reason beach tents sag, slide, or collapse once the wind picks up.
Fill each sandbag generously and evenly. Dry sand works, but slightly damp sand is often heavier and more secure. If your tent uses stakes instead, drive them deep at an angle rather than straight down. In loose sand, shallow staking rarely holds for long.
Once the anchors are filled or staked, pull the base fabric out so it sits evenly and doesn't bunch in the middle. A clean, tensioned footprint gives you a better structure once the poles go up.
Now it's time to build upward. Most portable beach tents are designed to be quick, but quick does not mean rushed. If you insert poles before the base is fully anchored, the wind can grab the canopy and turn setup into a two-person chase.
Slide or position the poles according to the tent design, then raise them one at a time while keeping some tension across the fabric. If you're setting up alone, start on the windward side first so the structure has support where it needs it most. If you're with a partner, one person can stabilize the canopy while the other adjusts the poles and corners.
As the canopy lifts, step back and check the shape. You want smooth fabric and balanced tension, not one corner pulled tight while another sags. Uneven tension usually means one anchor needs to be repositioned or one side needs more fill.
A beach tent does not always perform best at its tallest setting. Higher can feel breezier, but it can also reduce shade coverage when the sun shifts or make the setup more vulnerable in strong wind. Lowering one side slightly often creates a better block from direct afternoon sun.
This is especially helpful for families with young kids, anyone trying to protect snacks and gear from heat, or beachgoers planning to stay for several hours. Shade is not static. The sun moves, and a tent that looked perfect at noon may need a quick adjustment later.
If you've ever seen a shelter cartwheeling down the beach, you already know the biggest setup challenge is wind. The trick is not to panic and overcorrect. A few smart changes usually solve the problem.
If the wind is light to moderate, increase anchor weight and recheck the angle of the canopy. If the wind is stronger, lower the profile of the tent and tighten the side facing the breeze. Less exposed fabric often means better stability.
There is a trade-off, though. A lower setup can feel more enclosed and may reduce airflow inside the shaded area. For hot days, you'll want to balance sun protection with ventilation. That usually means keeping one side more open while locking the opposite side down securely.
Very soft, powdery sand can make any tent harder to secure. In those conditions, use more sand in the anchor bags than you think you need and bury the filled sections slightly if the design allows it. The deeper the anchor settles, the better it tends to hold.
If your beach has firmer sand farther from the dune line or closer to packed walking areas, shifting your setup spot by even a few feet can help. It is not always about the tent itself. Sometimes the surface is the whole issue.
Family beach days need a little more planning because your tent is doing more than creating shade. It becomes the home base for drinks, toys, towels, outfit changes, and the occasional mid-day reset when everyone needs a break.
Set the tent up with the opening facing your activity zone, not the parking lot or the busiest walkway. That gives you a clear line of sight to kids playing nearby and makes it easier to move in and out with sandy hands, wet feet, and armfuls of gear.
Keep the interior simple. Towels or a mat at the back create a cleaner lounging area, while coolers and bags should stay near the edges so they do not block airflow. If you're using a larger shade like a 4-person or 8-person setup, give yourself one side for seating and another for storage. It sounds basic, but that small bit of organization keeps the space from feeling cramped.
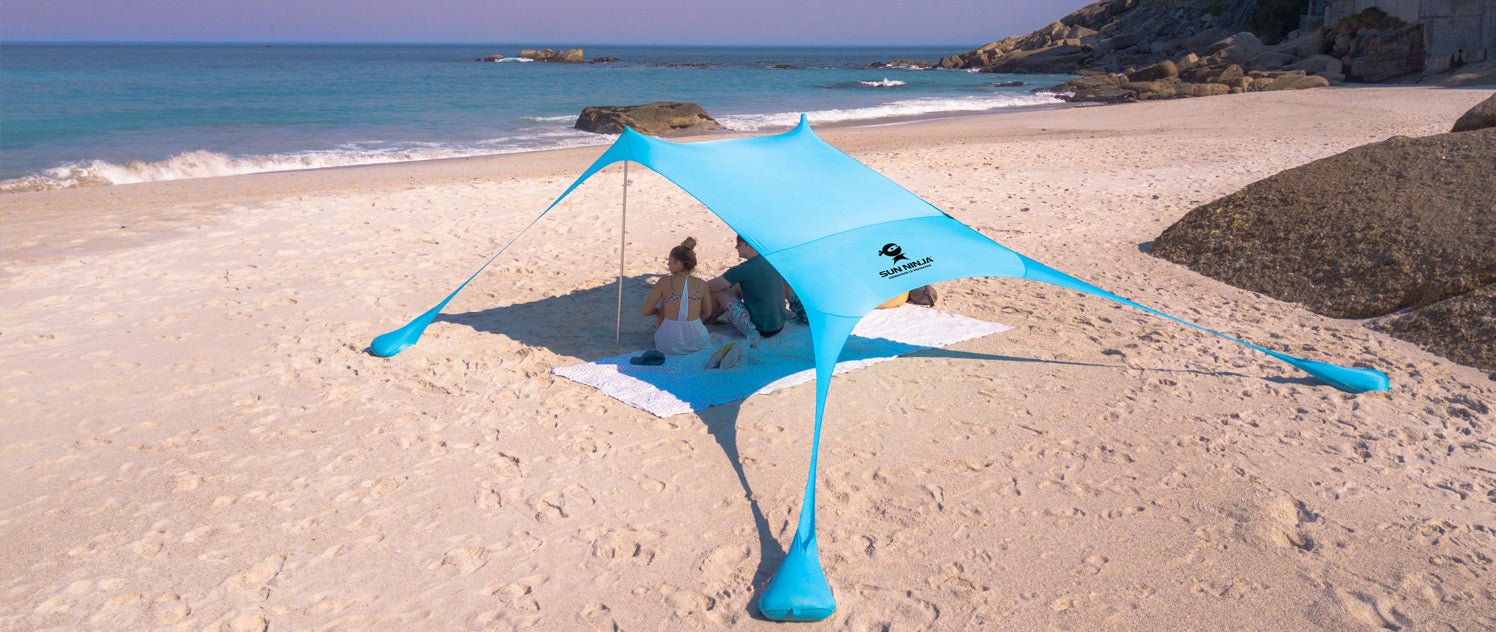
This is where easy-carry gear really earns its spot. A lightweight beach tent paired with chairs, a tote, and a cooler keeps the day feeling relaxed instead of overloaded. Brands like Sun Ninja build around that exact kind of setup - quick shade, easy transport, and less fuss once you hit the sand.
A few problems show up over and over again. Setting up too close to the shoreline is one. Ignoring the wind direction is another. The third is assuming the first setup position is final.
Beach conditions change during the day. Wind can shift. The sun will definitely move. Nearby crowds may fill in around you. The best tent setup is one you are willing to tweak after the first 20 minutes if it means better comfort and more consistent shade.
Another common mistake is treating all beach days the same. A calm morning with two adults calls for a different setup than a breezy afternoon with kids, snacks, and a pile of gear. It depends on how long you're staying, how strong the wind is, and whether your tent is meant for compact coverage or a larger shared space.
The first time you set up a beach tent, it may take longer than expected. That's normal. By the second or third outing, the process gets much smoother because you know how your shelter behaves in the wind, how much anchor weight feels right, and where to position it for the kind of shade you want.
The best beach setup is not the one that looks perfect for five minutes. It's the one that stays comfortable through shifting sun, surprise gusts, snack breaks, and sandy little feet running in and out all afternoon.
A little practice at the start buys you a much better day once the towels are down and the ocean is calling.
Share:
UPF 50 Beach Shade: What to Look For
Best Portable Sun Shade for Beach Days